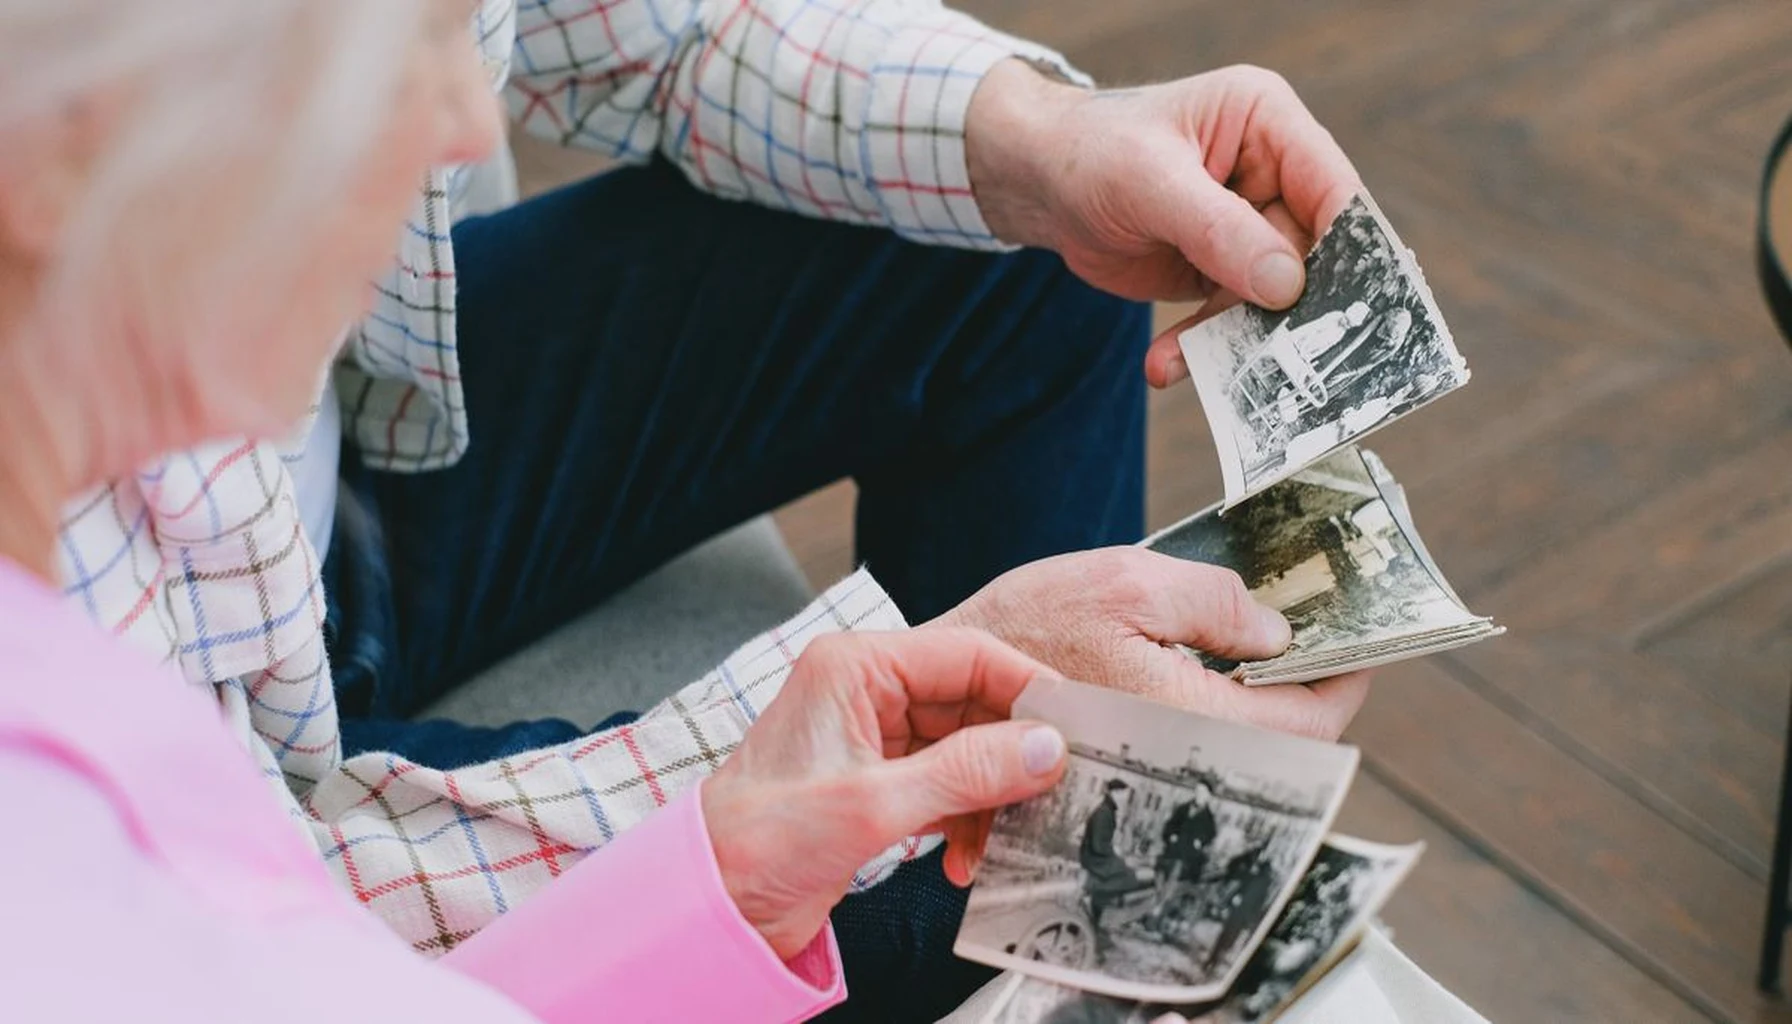
A home that has been lived in for thirty years or more holds a great many objects, and each one has a reason it was kept. When you downsize, you can’t carry every one forward, and the reasons are the part that gets lost.
Here’s the part nobody talks about: the objects often outlast the stories attached to them.
It is easy to inherit a household of belongings without knowing which ones mattered most to the person who owned them. Not because you didn’t care. Because the stories were never written down.
If you want to know how to build a digital family museum that survives, start by understanding the real problem.
The Downsizing Trap: What You Actually Lose
When families downsize — whether moving into a smaller home, an apartment, or an assisted living facility — the process follows a predictable pattern.
Everything gets sorted into three piles: keep, donate, throw away.
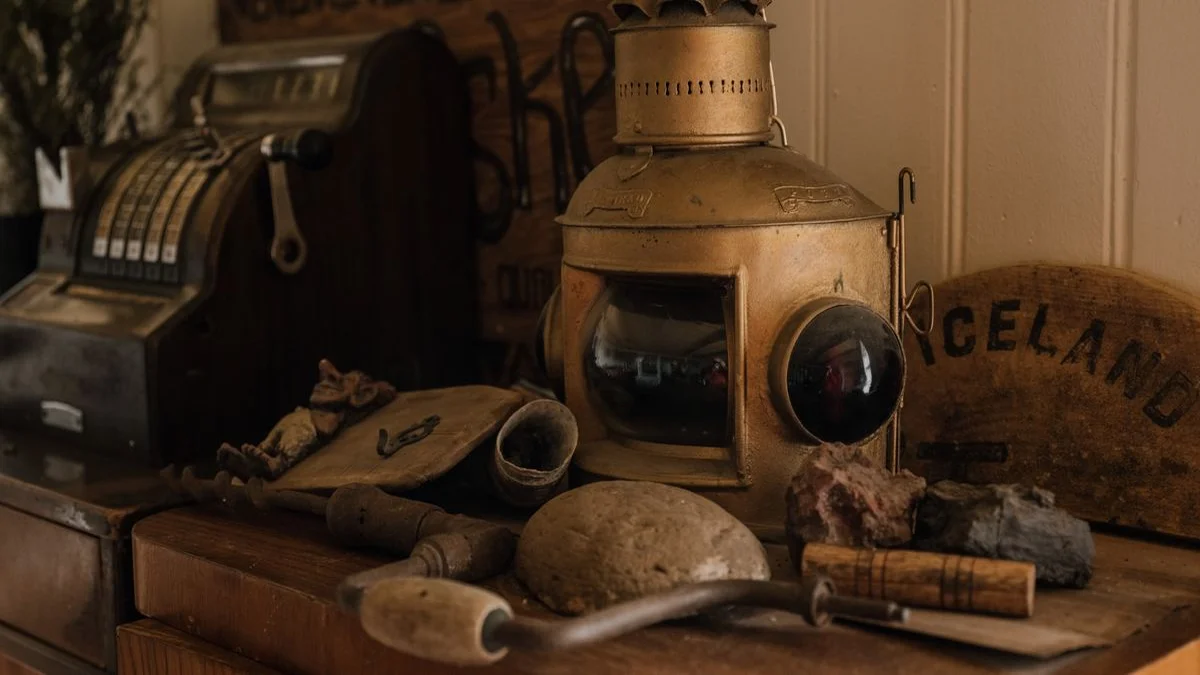
The “keep” pile is where the problem hides. That box of Christmas ornaments. The set of hand-painted teacups. The wooden toy train set that survived three generations. These items get boxed up and moved to a new location, still carrying their stories silently.
Two years later, someone opens that box. Nobody remembers why Great-Aunt Margaret’s embroidered handkerchief was important. Was it her wedding day? A gift from a diplomat? The one thing she grabbed during the war?
Nobody knows. The object survived. The story didn’t.
Many memory projects assume the user will type out their stories. Audio changes everything. A seventy-year-old’s voice carries context text never can — the hesitation, the accent, the laugh that breaks through mid-sentence.
This is the quiet failure of many digital memory projects. We digitize the object but forget the memory attached to it.
What Most People Try: 3 Common Memory Projects That Fail
The well-meaning approaches fall into three categories. All of them have the same flaw.
The Shoebox Method. Someone buys a fireproof safe. Family photos, birth certificates, and a few handwritten notes go inside. The safe is heavy. Nobody checks it. Eventually, the papers yellow and the ink fades.
The Facebook Archive. A family member uploads photos to social media with captions. The posts get buried in a feed. Later the account may get hacked, the platform may change its terms, or the family member may delete the account in a fit of digital decluttering. Years later, the account could be gone, and so could the memories.
The Cloud Backup. Someone subscribes to a cloud storage service. They scan documents, upload photos, organize folders. Say the subscription costs $10 a month: after three years, that’s $360. After ten years, it’s $1,200. And what happens when the service changes its pricing, or the credit card expires, or the account gets compromised?
All three approaches share a fatal assumption: that someone will maintain the system indefinitely. Life doesn’t work that way.
Online services can change their pricing, close, or lock you out when a payment lapses. We believe legacy tools should work offline by default. Your family’s stories don’t need a monthly fee to be valuable.
The Problem You Actually Need to Solve
Here’s the uncomfortable truth about building a digital family museum: you’re not preserving objects. You’re preserving the relationship between people and objects.
That dented silver locket isn’t valuable because of its metal content. It’s valuable because it was the last thing your grandmother received from her mother before immigrating. The crack in the porcelain teacup isn’t damage — it’s the sound of it hitting the floor during a New Year’s Eve party in 1963.
A proper digital family museum captures three layers for every item:
- The physical record: A clear photo showing the object as-is, damage and all
- The story: An audio recording in the owner’s voice, explaining why it matters
- The context: Metadata about the item — who owned it, when, where it came from
Text alone can’t do this. Photos alone can’t do this. You need all three layers bound together in a format that requires no internet, no subscription, and no ongoing maintenance.
Step by Step: How to Build a Digital Family Museum That Lasts
Here’s a process built around the failure modes above. Plan on roughly twenty minutes per item as a starting estimate; the stories tend to start flowing once someone holds an object while recording.
Step 1: Choose Your Objects
Don’t try to archive everything. That’s how people burn out in week two. Instead, focus on the ten to twenty items that carry the most emotional weight. Look for objects with:
- A clear origin story (gifted, inherited, found during a significant event)
- Multiple family connections (something that passed through several hands)
- Visible wear that tells a story (that crack, the worn handle, the faded inscription)
Step 2: Photograph with Context
Take two photos of every item. One close-up showing detail. One wide shot showing the item in its natural environment — sitting on the shelf where it’s lived for decades, held in the hands that use it.
Don’t remove the wear. Don’t clean it for the photo. The dust and scratches are part of the history.
Step 3: Record the Story (This Is the Critical Step)
This is where many digital memory projects fall apart. People write notes. Notes lose nuance. Write a few bullet points as a backup, but the primary record should be audio.
Here’s the trick: start the recording before you ask the question. The silence matters. The hesitation matters. The “oh, I remember” that comes thirty seconds in matters.
Listen for these prompts:
- “This belonged to [name], who…”
- “I remember when we…”
- “The funny thing about this one is…”
- “They don’t make them like this anymore, but…”
These phrases unlock the story behind the object. The audio file is the museum. Everything else is support. For more on running the conversation itself, see our guide to recording family stories step by step.
Step 4: Bundle Everything Together
This is the step many solutions get wrong. A folder full of separate files — photo here, audio there, text notes elsewhere — makes it easy for something to get separated during a transfer.
Instead, give each item its own folder (a single bundle) containing:
- The primary photo
- The audio recording
- A text transcript as backup
- Metadata (date recorded, who told the story)
Give the folder and the files descriptive names. The National Archives suggests plain letters, with hyphens or underscores in place of spaces and symbols, and the Library of Congress recommends descriptive file names too.
Step 5: Share via USB or Local Folder
Here’s where the offline philosophy pays off. Put the complete archive on a USB drive. Label it clearly and keep it somewhere safe. Make a copy for a trusted family member and keep it in a different place: the Library of Congress advises at least two copies, stored as far apart as practical, checked once a year, and copied to fresh media every five years.
No login required. No account to maintain. No subscription expiring. The archive lives on the drive, accessible to any computer that can open the file format.
The Format Question: What Should Survive the Longest
The technology you choose matters more than you think. A JPEG from 1995 still opens today. A word-processor file from the same era may need a conversion tool to open at all.
For maximum longevity, use these formats:
| File Type | Best Format | Notes |
|---|---|---|
| Photos | JPEG or PNG for everyday copies; TIFF for a master | The Library of Congress lists TIFF, JPEG 2000, PNG and JPEG, in that order, as its preferred formats for digital photographs |
| Audio | WAV or another lossless format for a master; MP3 for copies you share | The Library of Congress prefers uncompressed or lossless audio. MP3 plays on almost every device, which makes it handy for sharing. Avoid proprietary formats |
| Text | Plain text (.txt) or Markdown (.md) | PDF works but requires a viewer |
| Metadata | CSV or simple TXT | Spreadsheet formats have changed over the years (.xls to .xlsx), so plain CSV is safer |
Your goal is maximum survivability, not just maximum quality. A widely supported format that still opens decades from now beats a pristine RAW file that requires software nobody remembers. Keep the best version you have as a master and make smaller copies for sharing.

What Happens After You Build It
Once you’ve created a digital family museum, two things become possible that weren’t before.
First, downsizing becomes a liberation instead of a loss. Every object in the “keep” pile has an attached story. Every item you donate or sell has been digitally preserved. The emotional weight shifts from “I’m losing this” to “I’ll always have the story.”
Second, the archive becomes a living document. A grandchild can listen to Great-Grandma’s voice explaining the wooden toy train. A niece can see the original photo of the embroidered handkerchief. The museum doesn’t sit in a box in an attic. It sits on a USB drive that gets passed around at family gatherings.
That’s the upside of keeping it offline. No platform dependency. No paywalls. No account required. The museum belongs to your family, forever.
A Practical Starting Point
If this feels overwhelming, start absurdly small. Pick exactly one object. Photograph it. Record a two-minute story about it. Bundle the files together. Put them on a USB drive.
That’s it. One item might take fifteen minutes or so. You’ll likely learn more from that single experience than from reading ten articles about how to organize a larger project.
The technology part is secondary. What matters is that someone — right now — is still alive who knows the stories. Every week you delay is a story you risk losing.
Ready to get started? Check out our guide to recording family stories step by step for more help. For handwritten family papers such as recipe cards, see how to digitize handwritten recipes.
Pick one object. Record one story. That single act changes everything.
Sources: Library of Congress, Recommended Formats Statement: Still Images (TIFF, JPEG 2000, PNG, JPEG order for digital photographs) and Sound Recordings (uncompressed or lossless preferred); Library of Congress, Personal Digital Archiving: Digital Audio and Digital Photographs (at least two copies in different locations, annual checks, new media copies every five years, descriptive file names); National Archives, Digitizing Family Papers and Photographs (file naming). The $10 a month figure is an illustrative example, not a quoted price. All checked 7 October 2026.