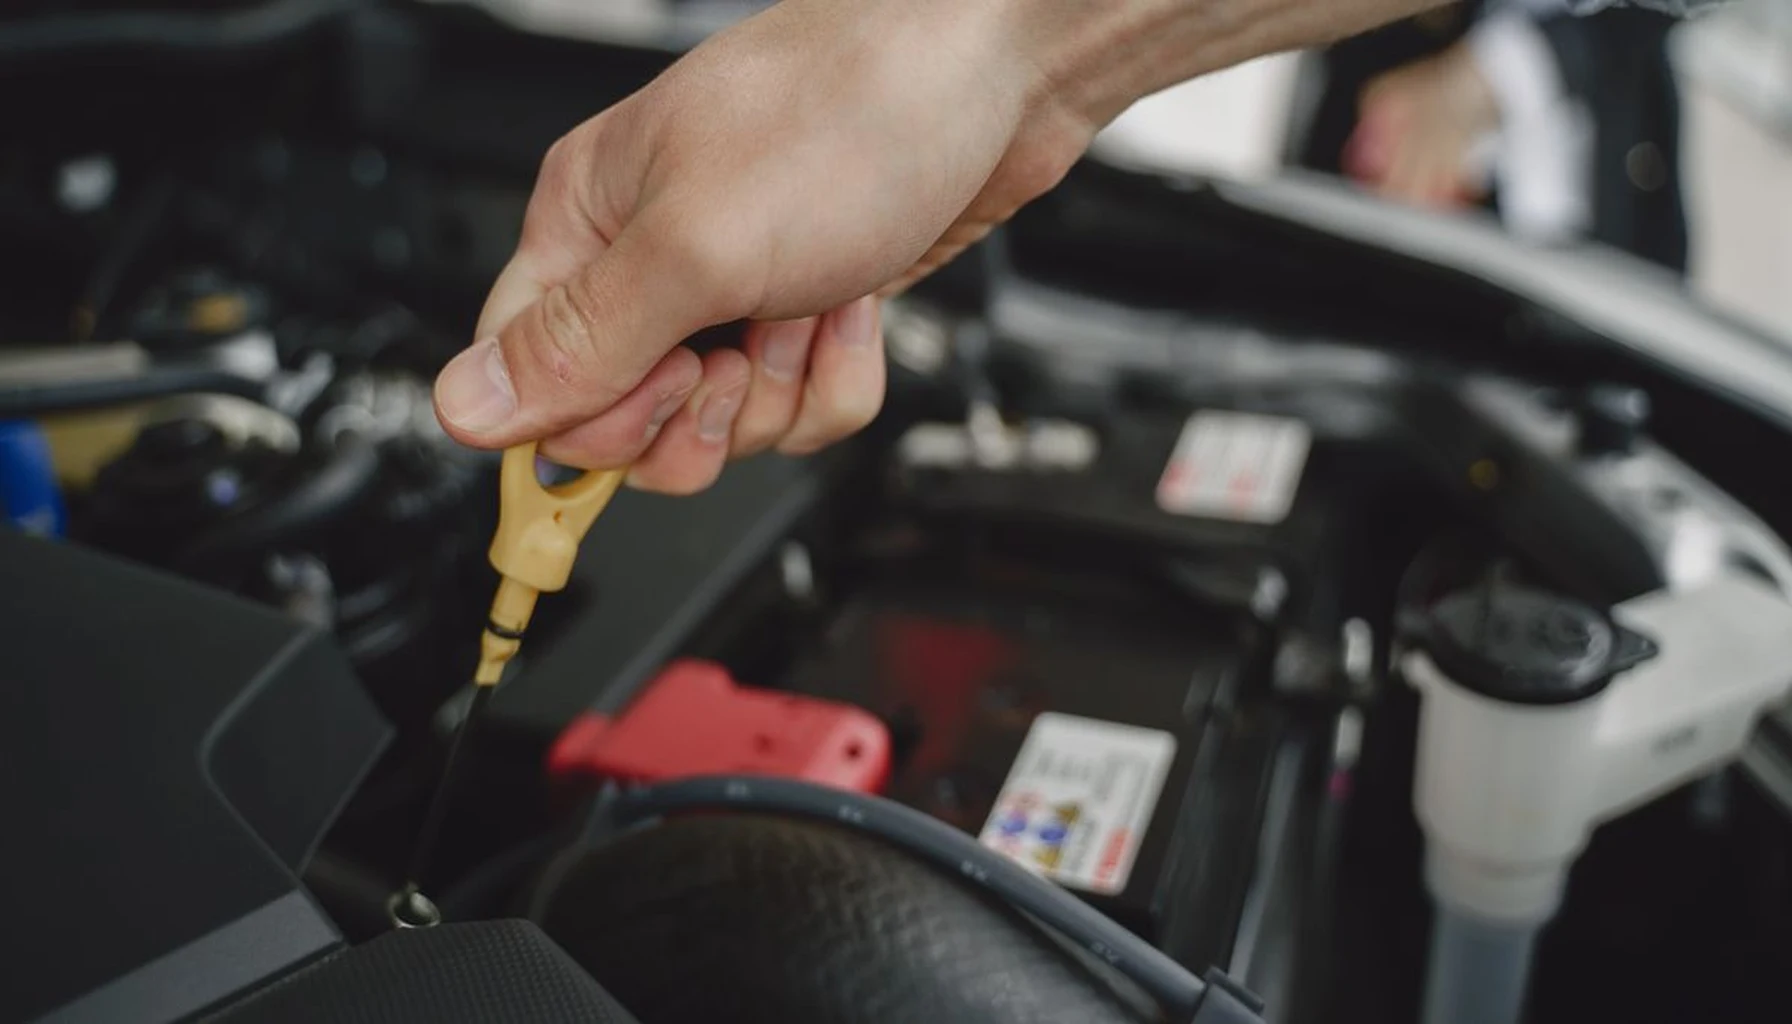
Imagine your dad’s Subaru has a weird smell for three weeks before your mom finally checks the oil. It turns out to be half a quart low. Not a disaster, but a sign the car has been running low on oil, which engines do not like. The fix takes about ninety seconds and a quart of oil.
Most first-car problems aren’t mechanical catastrophes. They’re things you didn’t know to look for. You don’t need to be a mechanic. You need a system that tells you what to check, and when.
This first car maintenance checklist for teens is that system. Print it, stuff it in the glove box, or bookmark it on your phone. Simple habits in your first year of car ownership make reliable driving much more likely, and they catch small problems before they turn into expensive ones.
Glove Box Setup
Before we get into the schedule, let’s get the car ready. You’ll need three things:
- A notebook and pen. The notes app on your phone works too, but a physical notebook in the glove box never runs out of battery. Write down dates, mileage, and what you did. This is your car’s medical record.
- A basic tool kit. A tire pressure gauge, a quart of oil (check your owner’s manual for the type), a jug of windshield washer fluid, and a flashlight. That’s it. You don’t need a socket set yet.
- Your owner’s manual. Not a PDF on your phone that you’ll never find. The actual paper manual that came with the car, or a downloaded copy saved locally. Read the maintenance section once, cover to cover. It does not take long and tells you what your car needs, in the manufacturer’s own words.
Do not count on always having internet access to look up a part number or find a tutorial. You will not have it in a parking garage, on a back road, or in a basement garage with spotty service. Your maintenance system should work the same way offline as it does online. A printed checklist and a physical manual never buffer.
Month One: Initial Inspection
You just bought the car. You’re excited. You’re driving everywhere. The last thing you want to do is stop and check things.
Do it anyway. This first pass catches whatever the previous owner was ignoring.
- Check all fluid levels. Open the hood when the engine is cold. Pull the oil dipstick, wipe it clean, reinsert it, and check the level. The oil should be amber or brown, not black or milky. Check the coolant reservoir (the translucent plastic tank with colored liquid inside). Check the brake fluid reservoir. Check the power steering fluid. If anything is low, top it off and write it down.
- Inspect the tires. Look at the tread depth. The penny test works: insert a penny into the tread with Lincoln’s head facing down. If you can see the top of his head, the tread is worn to about 2/32 of an inch or less, the point at which tires should be replaced. Check the tire pressure with your gauge when the tires are cold. The correct pressure is usually printed on a sticker inside the driver’s door frame, not the number on the tire itself.
- Test every light. Headlights, high beams, turn signals, brake lights, reverse lights, hazard lights. Have a friend stand behind the car while you press the brake pedal. Replace any bulbs that are out. Bulbs are usually inexpensive, and working lights keep you visible and legal.
Do not skip the brake test. Drive slowly in an empty parking lot. Accelerate to 15 mph and brake firmly. The car should stop in a straight line without pulling to one side. If the brake pedal feels spongy or the car shudders, get it inspected by a mechanic before you rely on that car for daily driving.
Month-by-Month Schedule
Here’s where most guides lose people. They dump a wall of text about mileage rules and “consult your maintenance minder” and it all blurs together. Let’s make this concrete.
One caution first: treat the schedule below as a rhythm for checking, and let your owner’s manual set the exact service intervals for your car. The old “every 3 months or 3,000 miles” oil change rule is outdated for most modern cars (see Sources at the end).
Every month, check:
- Tire pressure. It changes with temperature, falling about 1 PSI for every 10-degree Fahrenheit drop. Check it when the tires are cold. Underinflated tires wear faster and hurt your gas mileage.
- Oil level. Same check from month one. It takes about thirty seconds, and Consumer Reports suggests checking at least once a month or every other fill-up.
- Windshield washer fluid. Keep it full. You won’t refill it when it’s empty on a rainy highway at night.
- Dashboard warning lights. No lights = good. Any light = investigate.
Every 3 to 6 months, or on the schedule in your owner’s manual, do:
- Oil change. This is one of the most important maintenance tasks. Skipping oil changes can ruin an engine, and an oil change costs far less than a replacement engine. Follow your owner’s manual or your car’s oil life monitor rather than a fixed 3,000-mile rule: Consumer Reports notes that many automakers now call for 7,500 or even 10,000 miles, or 6 to 12 months, between changes. If you drive few miles, still change the oil on the time interval in the manual.
- Tire rotation. Front and rear tires often wear at different rates. Rotating them on the schedule your manual gives helps all four wear evenly. Michelin suggests following the vehicle manufacturer’s recommendation or rotating every 6,000 to 8,000 miles.
- Cabin air filter check. This is the filter behind your glove box that cleans the air inside the car. If it smells musty when you turn on the AC, replace it. It is usually an inexpensive, quick job.
Every 6 months, or as your manual says, add:
- Brake inspection. Look at the brake pads through the spaces between the wheel spokes. If the pads look thin, or you hear squealing or grinding when you brake, have a mechanic check them.
- Battery terminal cleaning. Pop off the plastic covers on your battery terminals. If you see white or blue crusty powder, clean it off with a wire brush and some baking soda mixed with water. That powder is corrosion, and it can stop the battery from working properly. Wear gloves and eye protection, and ask an adult or a mechanic if you are unsure.
- Coolant level recheck. Top off if needed.
Every 12 months, or as your manual says, do:
- Air filter replacement. The big rectangular filter under the hood that your engine breathes through. A clogged air filter can hurt acceleration. The US Department of Energy notes that on modern fuel-injected cars a new filter does not improve fuel economy, but can improve acceleration. Check it about once a year and replace it when it is dirty or when your manual says it is due.
- Spark plug inspection (if you’re handy). Spark plug intervals vary widely between cars. Check your owner’s manual.
- Fluid services for brake fluid, transmission fluid and coolant. Intervals differ between cars, so follow your owner’s manual. This is a bigger job, and it’s worth paying a shop for.
Regular maintenance helps you catch small problems before they become expensive ones. The checklist costs you a few minutes a month.
Check Engine Light Survival Guide
It is easy to panic when this light comes on. Let’s demystify it.
The check engine light means one of your car’s sensors detected something outside its expected range. It could be something trivial, like a loose gas cap (tighten it and the light may go off after a few drives). It could be something moderate, like a failing oxygen sensor. It could be something serious, like a catalytic converter problem, which can be expensive to fix.
Here’s how to respond without panic:
- Check your gas cap first. AAA lists a loose or faulty gas cap as a known cause of this light.
- Notice how the car is driving. If it runs normally, no shaking, no strange noises, no loss of power, you can usually drive it to a parts store that offers free code reading. AutoZone, O’Reilly Auto Parts and Advance Auto Parts all list a free check engine light scan, but call your local store first.
- Get the code read. The parts store employee plugs a scanner into your car’s diagnostic port and tells you the code. Google that code. Do not buy parts based on the code alone.
- If the light is flashing, it can point to a serious problem such as an engine misfire, and further damage could occur. AAA advises pulling off the road safely and calling roadside assistance rather than driving on.
“A solid check engine light is a reminder. A flashing check engine light is a siren. Learn the difference, and you’ll know when to stay calm and when to pull over.”
One of the costliest mistakes a new driver can make is ignoring the light entirely and waiting for the car to stop running. A small problem left alone can turn into a much bigger repair. Address it early.
Fluid Color Guide
Your car uses several different fluids, and they all look different. Learn the colors. It’s the fastest way to spot a problem.
| Fluid | What It Should Look Like | What Trouble Looks Like |
|---|---|---|
| Engine oil | Amber or light brown | Black or milky (milky oil can mean coolant is getting into the oil) |
| Coolant | Green, orange, or pink (depending on type) | Brown, rusty, or oily |
| Brake fluid | Clear to light yellow | Dark brown or black (contaminated) |
| Power steering fluid | Clear, red, or amber | Dark brown or smells burnt |
| Transmission fluid | Bright red or pink | Dark red or brown, smells burnt |
Many cars call for checking transmission fluid with the engine running and in park. That is an exception to the “engine off” rule. Your owner’s manual will confirm whether and how to check it on your car.
If you find milky oil or brown coolant, that can point to a serious problem such as a failed head gasket, which is a big repair. Have a mechanic look at the car before you drive it much further.
DIY vs. Shop: What to Do Yourself
Not everything needs a mechanic. Here’s the honest breakdown.
Good first DIY jobs (with your manual, and an adult or mechanic to ask if you are unsure):
- Oil changes (once someone experienced has shown you how, with safe jack stands and a proper way to dispose of the used oil)
- Air filter replacement (often needs few or no tools)
- Cabin air filter replacement (maybe a screwdriver)
- Tire pressure checks and topping off
- Wiper blade replacement
- Battery terminal cleaning
- Bulb replacement (headlights vary in difficulty)
Mid-level DIY (requires basic tools and YouTube):
- Spark plug replacement
- Brake pad replacement (brakes are safety-critical, so only with an experienced helper and a video specific to your car model)
- Coolant flush (messy but straightforward)
Pay a shop (specialized tools or safety-critical):
- Timing belt or chain replacement
- Transmission service
- Brake rotor resurfacing or replacement
- Any check engine light you can’t identify
- Suspension or steering work
The rule is simple: if a mistake could cause a crash or a costly engine failure, pay a professional. If it’s a consumable replacement with a YouTube video, learn to do it yourself. Doing the basics yourself can save the cost of a mechanic’s time, and it teaches you what your car needs.
Printable Glove Box Checklist
Here’s the one-page version. Print this, cut it out, and tape it to the inside of your glove box lid.
Monthly (5 minutes):
- Tire pressure (check cold, before driving)
- Oil level (engine cold, on level ground)
- Windshield washer fluid (top off)
- Dashboard warning lights (any new lights?)
Every 3 to 6 months, or as your manual says (30 minutes):
- Oil change (when your manual or oil life monitor says it is due)
- Tire rotation (on your manual’s schedule)
- Cabin air filter (check for musty smell)
Every 6 months (15 minutes):
- Brake pads (look for thin pads, listen for squealing)
- Battery terminals (clean if corroded)
- Coolant level (check reservoir)
Every 12 months (1 hour):
- Engine air filter (check; replace if dirty or due per manual)
- Spark plugs (if due per manual)
- Full fluid level check (all fluids)
A car’s maintenance log is its biography. Every oil change, every bulb replacement, every odd noise that got investigated tells the story of how well that car was treated. When it comes time to sell your first car, a complete logbook can help show a buyer that the car was looked after. When it comes time to fix a problem, that logbook tells your mechanic what’s already been done and what hasn’t.
For the money side of keeping a car on the road, see our guide to sinking funds for car repairs, which uses UK costs as its example.
Sources (checked 7 October 2026): Consumer Reports, Essential oil change rules every car owner needs to know; Michelin, Routine tire care tips; Consumer Reports, How to extend tire life; Tire Industry Association, Tire inflation pressure; AAA, How temperature changes affect your tire pressure; AAA, Check engine light guide; US Department of Energy, Vehicle maintenance tips; free check engine light scans listed by AutoZone, O’Reilly Auto Parts and Advance Auto Parts.